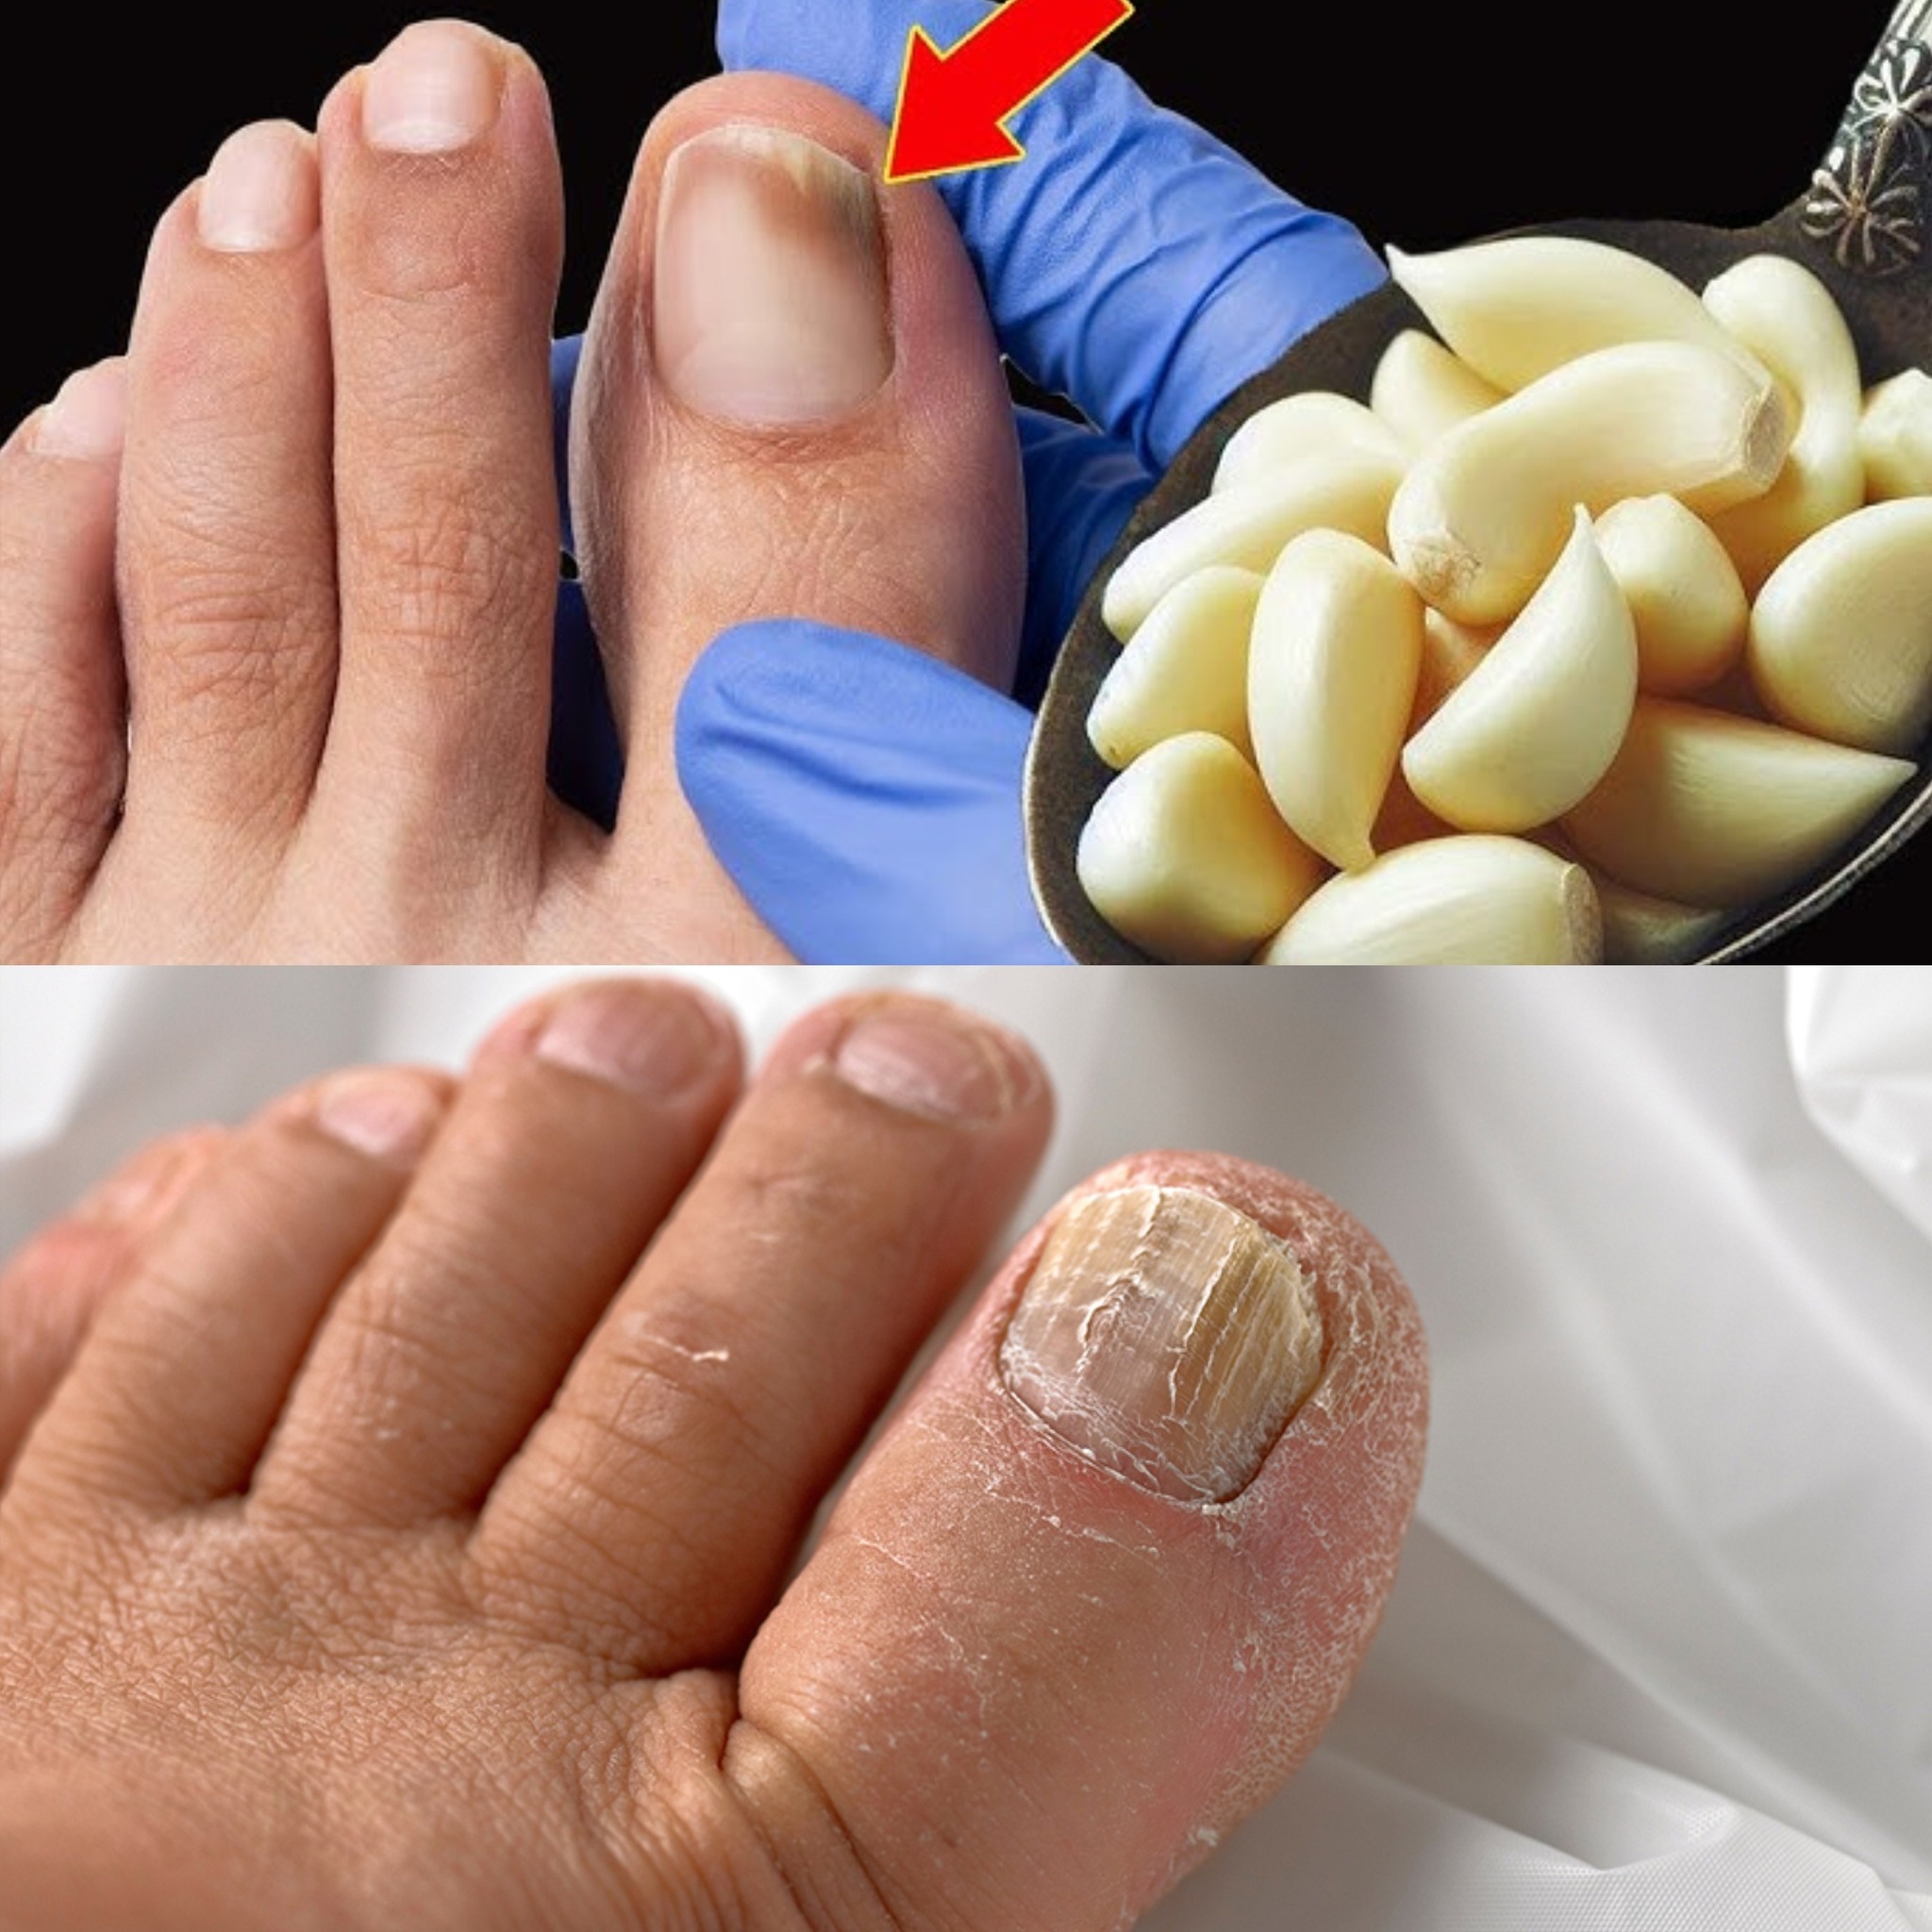
This is a nail fungus killer (It works very fast)
Using garlic to treat nail fungus is a genius traditional strategy because it targets the problem with “raw” chemical power. Garlic includes chemicals called allicin and ajoene, which “shock” fungal colonies and “shatter” their capacity to grow on your keratin, making this practice a “treasure.” It is a “clever” and all-natural method to “erase” yellowing, “spark” the development of a healthy nail bed, and “protect” your toes from “stubborn” illnesses that costly lotions frequently miss.
Why Garlic is a “Nail-Saving” Treasure
The “Allicin” Attack: Garlic’s main active compound acts as a “natural fungicide” that “attacks” the cell walls of the fungus, “erasing” it at the source.
The “Sulfur” Guard: The high sulfur content “fortifies” the nail’s strength, “preventing” the cracking that allows “new” bacteria to enter.
Deep “Penetration”: When crushed, garlic’s oils “seep” into the microscopic cracks of the nail, “flushing” out the hidden fungal “roots.”
The “Circulation” Spark: Rubbing garlic on the toe “ignites” blood flow to the area, “helping” your body “deliver” nutrients to grow the nail back “faster.”
The “Cost-Saving” Secret: It “shatters” the need for pricey “pharmacy” lacquers, “proving” that a simple treasure from the kitchen can “outperform” industrial chemicals.
Recipe for the “Fast-Acting” Garlic Nail Paste
This is the smartest way to prepare the garlic to ensure the “antifungal” vapors are “concentrated” exactly where you need them.
Ingredients:
2 large Garlic Cloves (The “active” treasure)
1 teaspoon of White Vinegar (To “acidify” the environment and “soften” the nail)
5 drops of Olive Oil (To “prevent” the skin around the nail from “drying out”)
Optional: 1 drop of Tea Tree Oil (To “double” the “fungal-killing” power)
Instructions:
The Mince: Crush the garlic cloves into a “very fine” paste using a press or a grater. Let it “sit” for 10 minutes to “activate” the allicin.
The Blend: Mix the garlic with the vinegar and oils until it becomes a “thick, wet paste.”
The Application: Apply a “generous layer” of the paste directly onto the infected nail. Make sure it “covers” the edges and gets “under” the tip of the nail.
The Wrap: Cover the toe with a “bandage” or a small piece of plastic wrap and put on a “cotton sock.” This “traps” the vapors so they “soak” into the nail all night.
The Wait: Leave the treatment on for at least 30 minutes, or for “maximum” speed, leave it on “overnight.”
The Rinse: Wash your feet with “warm, soapy water” and “dry them completely.” Moisture is the “best friend” of fungus—so “dryness” is your “command.”
The Result: “Whiter” looking nails and a “noticeable” reduction in the “thickened” texture of the infection.
Three Tips for Success for Clear Nails
The “Consistency” Rule: Fungus is “stubborn.” You must “honor” this ritual every night for at least 2 weeks. Even after the nail looks “clear,” keep going for a few days to “ensure” the fungus is “completely gone.”
The “Clipping” Command: Use a clean file to “thin out” the top of the infected nail before applying the paste. This “allows” the garlic treasures to “reach” the deep layers “faster.”
The “Shoe” Secret: While treating your nails, “sprinkle” a little baking soda or “wipe” your shoes with vinegar. This “shields” your feet from “re-infection” from the fungus “hiding” in your footwear.
A Friendly Tip for Success
When a “straight line of healthy, pink nail” emerges from the base, you will know that the “Garlic Nail Secret” is effective! Using a simple gem from your spice rack is the “smartest” approach to “respect” your cleanliness.