
No Bake Twix Bars
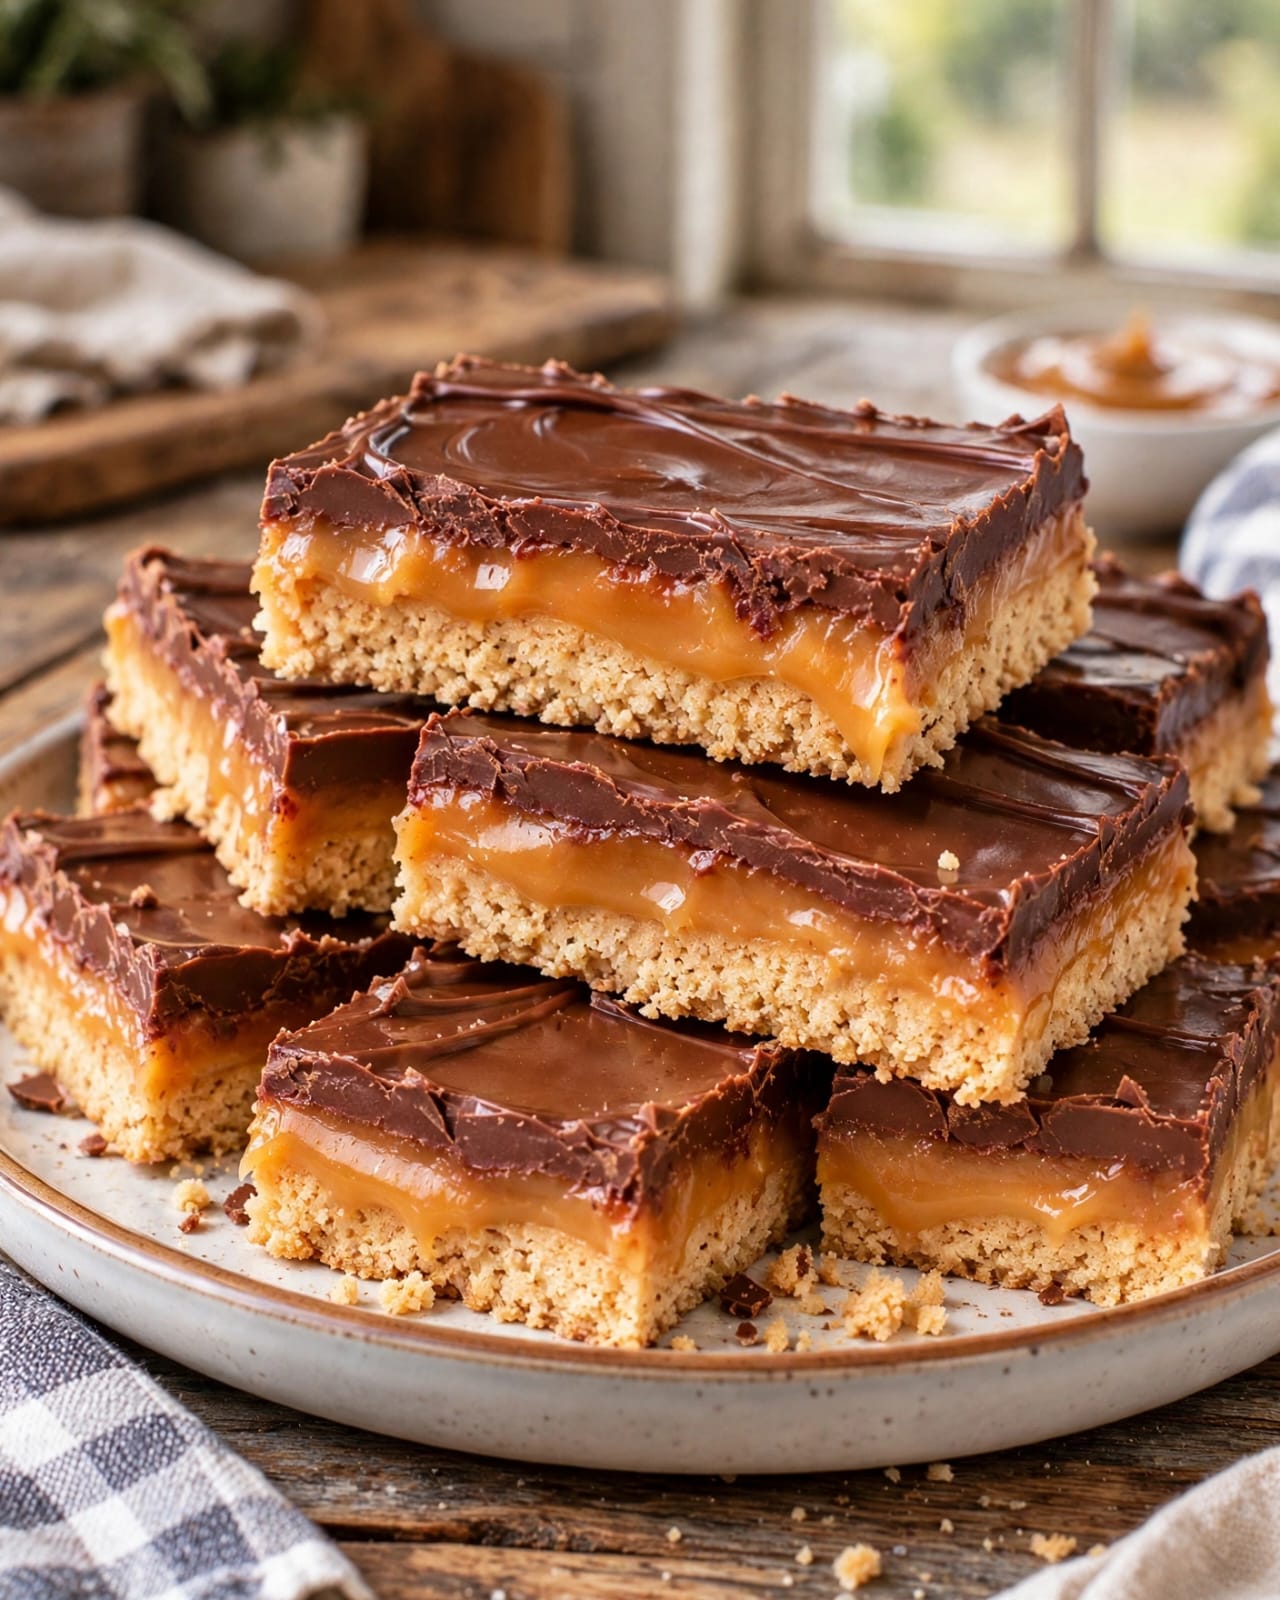
No Bake Twix Bars are a rich, easy dessert with three irresistible layers: a buttery biscuit base, a soft caramel center, and a smooth chocolate topping. They deliver the familiar chocolate-caramel-cookie combination without requiring an oven, making them perfect for warm days, parties, holiday trays, bake sales, or simple family treats.
This No Bake Twix Bars recipe is easy to prepare with everyday ingredients and can be made ahead. The base is pressed firmly into the pan, the caramel is spread over the chilled crust, and melted chocolate finishes the top. After a good chill, the bars slice neatly and have a satisfying mix of crunch, chewiness, and creamy chocolate.
Prep Time: 25 minutes
Chill Time: 2 hours
Total Time: About 2 hours 25 minutes
Servings: 16 bars
Ingredients
For the Biscuit Base
- 2 cups finely crushed digestive biscuits or graham crackers
- 1/2 cup unsalted butter, melted
- 2 tablespoons brown sugar
- 1 teaspoon vanilla extract
- Pinch of salt
Ingredients For the Caramel Layer
- 1 cup soft caramel candies, unwrapped
- 1/4 cup heavy cream
- 2 tablespoons unsalted butter
- 1/2 teaspoon vanilla extract
- Pinch of sea salt
For the Chocolate Topping
- 1 1/2 cups milk chocolate chips or chopped milk chocolate
- 1 tablespoon coconut oil or unsalted butter
- Flaky sea salt, optional
Why You’ll Love This Recipe
No Bake Twix Bars are simple enough for beginners but still look impressive when sliced. Each layer has a different texture, so every bite includes crisp crumbs, gooey caramel, and smooth chocolate.
Another reason to love No Bake Twix Bars is that the recipe is flexible. You can use milk chocolate, dark chocolate, or a combination of both. You can also make the caramel slightly salty, add chopped nuts, or use a different type of biscuit for the crust.
How to Make No Bake Twix Bars
Step 1: Prepare the Pan
Line an 8-inch square pan with parchment paper, leaving enough paper hanging over two sides to lift the finished dessert out easily.
Step 2: Crush the Biscuits
Place the digestive biscuits or graham crackers in a food processor and pulse until they become fine crumbs.
Fine crumbs help the base of No Bake Twix Bars hold together more cleanly when sliced.
Step 3: Make the Biscuit Base
Transfer the crumbs to a mixing bowl.
Add melted butter, brown sugar, vanilla, and a pinch of salt.
Stir until the mixture looks evenly moistened and holds together when pressed between your fingers.
Step 4: Press the Base Into the Pan
Pour the crumb mixture into the prepared pan.
Use the bottom of a measuring cup or drinking glass to press it down firmly and evenly.
A tightly packed crust gives No Bake Twix Bars a cleaner, sturdier bottom layer.
Refrigerate for 20 minutes.
Step 5: Melt the Caramel
Add the caramel candies, heavy cream, and butter to a small saucepan.
Warm over low to medium-low heat, stirring constantly until the mixture becomes completely smooth.
Do not boil the caramel aggressively because high heat can make it separate or become too firm after chilling.
Remove from the heat and stir in vanilla and a small pinch of sea salt.
Step 6: Add the Caramel Layer
Pour the warm caramel over the chilled biscuit base.
Spread it gently into an even layer using an offset spatula or the back of a spoon.
Return the pan to the refrigerator for 30 to 40 minutes.
The caramel should feel mostly set before the chocolate goes on top. This helps No Bake Twix Bars keep three distinct layers.
Step 7: Melt the Chocolate
Place the chocolate chips and coconut oil in a microwave-safe bowl.
Microwave in 20-second intervals, stirring after each interval, until the chocolate is smooth.
Step 8: Add the Chocolate Topping
Pour the melted chocolate over the chilled caramel.
Spread it evenly to the edges.
If you like a sweet-salty finish, sprinkle a small amount of flaky sea salt over the top before the chocolate sets.
Step 9: Chill Until Firm
Refrigerate No Bake Twix Bars for at least 1 hour, or until the chocolate and caramel layers are fully set.
For the neatest slices, chill the pan for 2 hours or even overnight.
Step 10: Slice the Bars
Lift the dessert from the pan using the parchment paper.
Let it sit at room temperature for about 5 minutes.
Use a sharp knife to cut into 16 squares or narrow rectangular bars.
Wipe the blade clean between cuts for sharper edges.
Serving Suggestions
No Bake Twix Bars are rich, so smaller portions are usually ideal.
Serve them with coffee, black tea, hot chocolate, or cold milk.
For a party dessert tray, arrange No Bake Twix Bars alongside fresh strawberries, brownies, cookies, or small cheesecake bites.
For another easy no-bake chocolate dessert, try our 3-Ingredient Banana Chocolate Mousse with ripe bananas, cocoa powder, and creamy Greek yogurt.
Recipe Tips
Press the base firmly into the pan. A loose crust can crumble when sliced.
Use gentle heat for the caramel and stir continuously.
Let the caramel cool and firm before adding chocolate. If it is still warm, the layers can mix together.
Adding a little coconut oil or butter to the chocolate helps the topping stay slightly softer, which makes No Bake Twix Bars easier to cut.
For clean slices, warm the knife under hot water, dry it, and cut one piece at a time.
Do not leave the bars in a very warm room for long because the caramel and chocolate can soften.
Easy Variations
No Bake Twix Bars are easy to customize without changing the basic method.
For salted caramel bars, add a slightly larger pinch of sea salt to the caramel and sprinkle a little flaky salt over the chocolate.
For a dark chocolate version, replace the milk chocolate with semi-sweet or dark chocolate.
A peanut butter variation can include a thin layer of creamy peanut butter between the crust and caramel.
For extra crunch, sprinkle chopped toasted pecans, peanuts, or almonds over the caramel before adding the chocolate layer.
You can also use crushed shortbread cookies instead of graham crackers for an even more buttery base.
You may also enjoy our 3-Ingredient Creamy Chocolate Pudding Loaf for a rich, smooth, and sliceable chocolate dessert made with simple ingredients.
Make-Ahead Instructions
No Bake Twix Bars are ideal for preparing in advance because they need time to chill.
Make the full recipe the night before serving, cover the pan tightly, and refrigerate overnight.
If you are preparing them for a party, slice them a few hours ahead and arrange them in a covered container with parchment between layers.
Storage and Freezing
Store No Bake Twix Bars in an airtight container in the refrigerator for up to 5 days.
Keep parchment paper between layers if stacking the bars.
For longer storage, freeze the sliced bars in a single layer until firm, then transfer them to a freezer-safe container.
Freeze for up to 2 months.
Thaw the bars in the refrigerator before serving so the caramel and chocolate return to a pleasant texture.
Nutrition Information
Approximate nutrition per bar:
Calories: 285
Protein: 3 g
Carbohydrates: 34 g
Fat: 16 g
Saturated Fat: 10 g
Fiber: 1 g
Sugar: 24 g
Sodium: 170 mg
Nutrition values are estimates and may vary depending on the biscuits, chocolate, caramel, butter, and exact serving size.
Frequently Asked Questions
Can I use graham crackers instead of digestive biscuits?
Yes. Graham crackers work very well and give the crust a slightly sweeter flavor.
Can I use homemade caramel?
Yes. Use a thick caramel that firms when chilled so the bars hold their shape.
Why is my base crumbly?
The crumbs may be too coarse, the base may need a little more butter, or it may not have been pressed firmly enough.
Why does the chocolate crack when I cut the bars?
The topping may be too cold. Let the pan sit at room temperature for 5 to 10 minutes before slicing, and use a warm knife.
Can I use dark chocolate?
Yes. Dark chocolate creates a less sweet flavor and pairs especially well with salted caramel.
Do the bars need to stay refrigerated?
Yes. The bars hold their shape best when kept chilled.
Can I double the recipe?
Yes. Double the ingredients and use a 9 x 13-inch pan. The chilling time may be slightly longer.
Final Thoughts
No Bake Twix Bars are an easy layered dessert that delivers buttery crunch, soft caramel, and smooth chocolate without requiring an oven.
Because No Bake Twix Bars can be prepared ahead and stored in the refrigerator, they are especially useful for holidays, potlucks, parties, and busy weeks.
Keep this No Bake Twix Bars recipe handy whenever you want a simple homemade treat inspired by the classic chocolate, caramel, and cookie combination.
With three easy layers, familiar ingredients, and a rich finish, No Bake Twix Bars are a crowd-pleasing dessert that is simple to prepare and even easier to enjoy.